

-> Wollok CLI via Node
Wollok Command Line Interface: via Node
Section titled “Wollok Command Line Interface: via Node”Installation on Windows
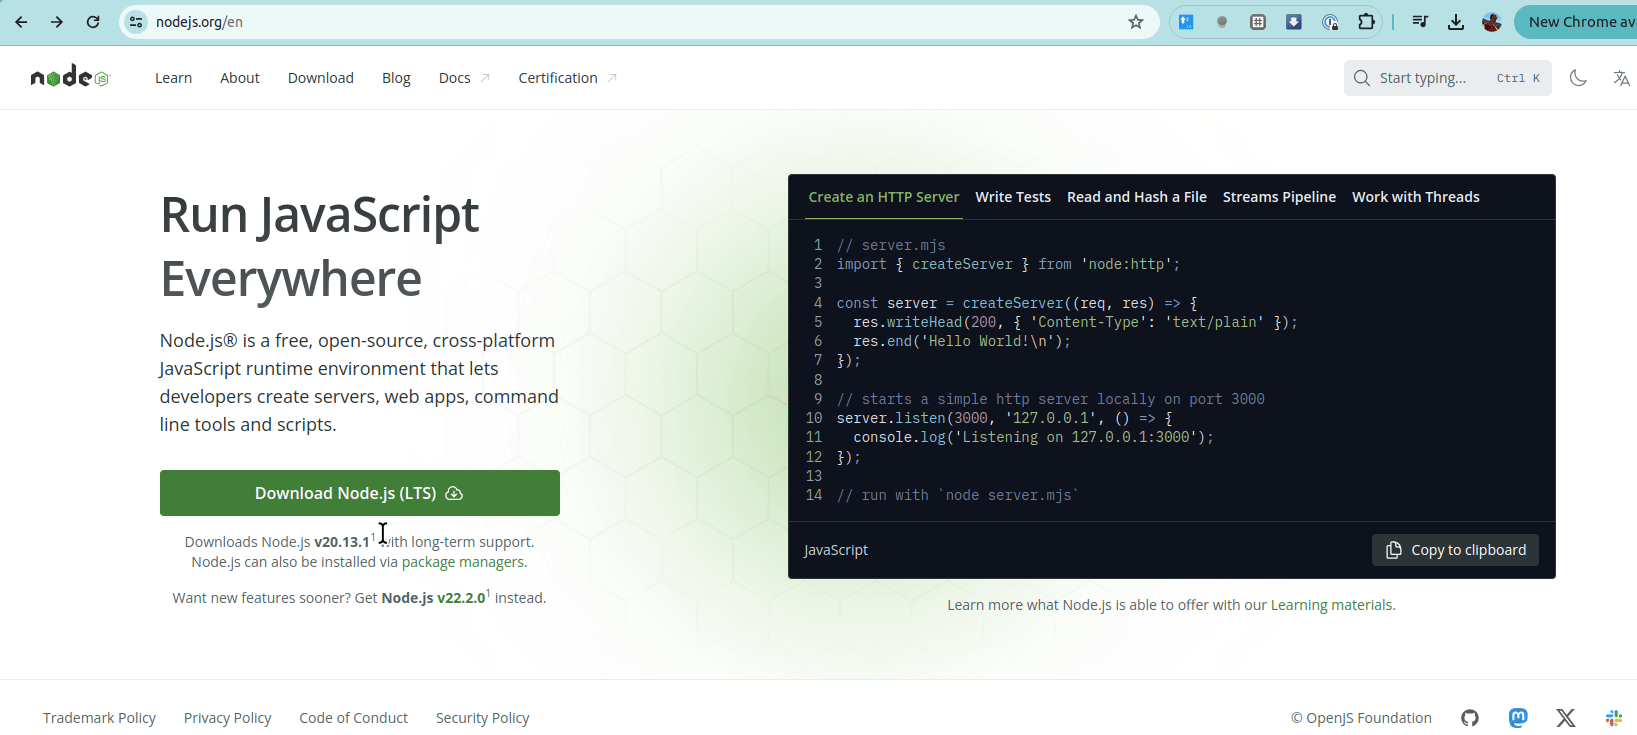
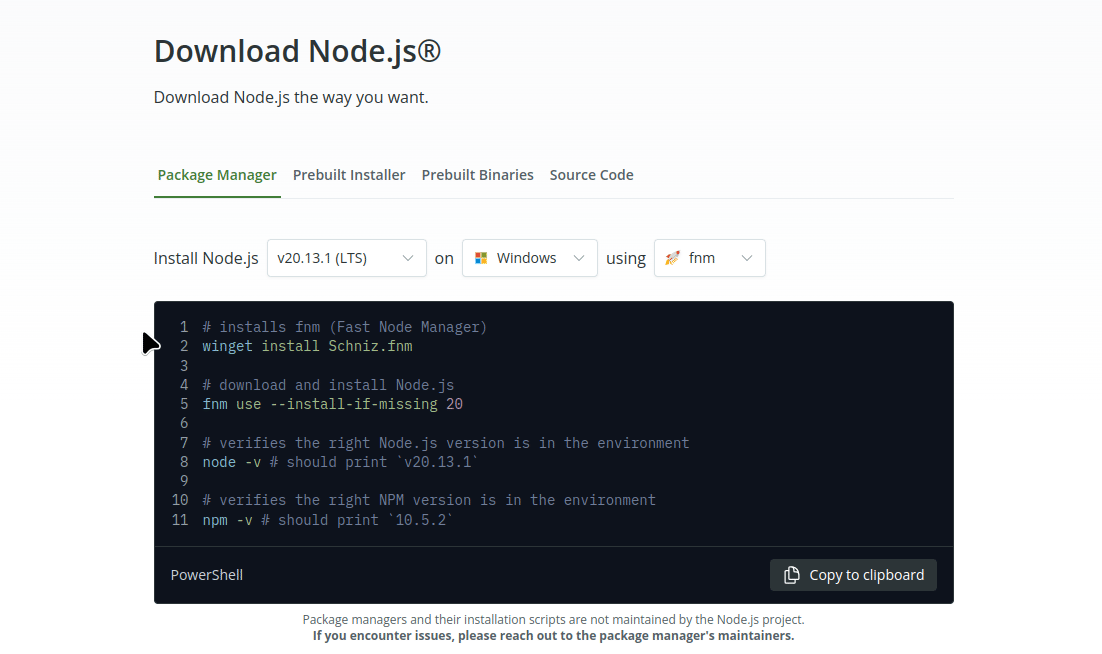
Section titled “Installation on Windows”Install Node version 20 from the official link by clicking on the “Download Node.js (LTS)” option. Then run the installer and select Next, leaving all options at default. If in doubt, we recommend watching this tutorial
If version 20 is not the official version when you want to download the installer, you can go to this page and select the latest Node version 20 for your operating system. Once this step is complete, it will show you the installation mechanism.
Let’s verify that we have node installed on our system. From any folder, open the terminal, which can be Powershell, CMD command line, or Git Bash:
node -v# should return version number 20.x.yWe should also have npm (Node’s package manager) installed:
npm -v# should return the version numberNow we install wollok by running:
npm i -g wollok-ts-cliLet’s verify that we have Wollok CLI installed. In the terminal, type:
wollok --version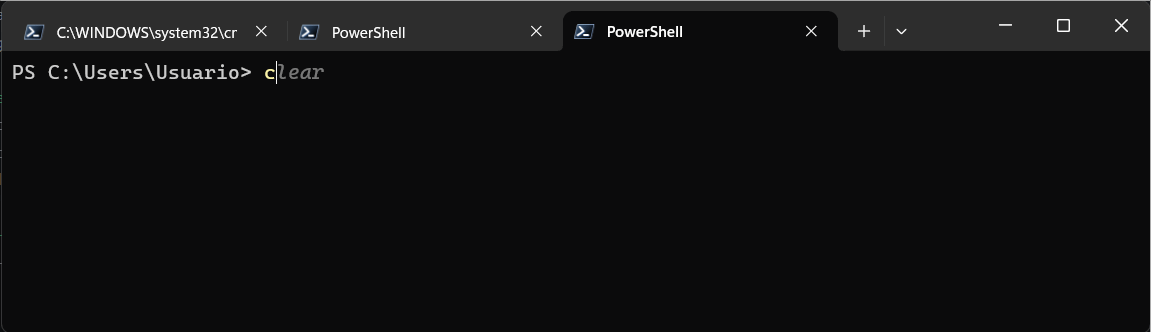
Installation on Linux
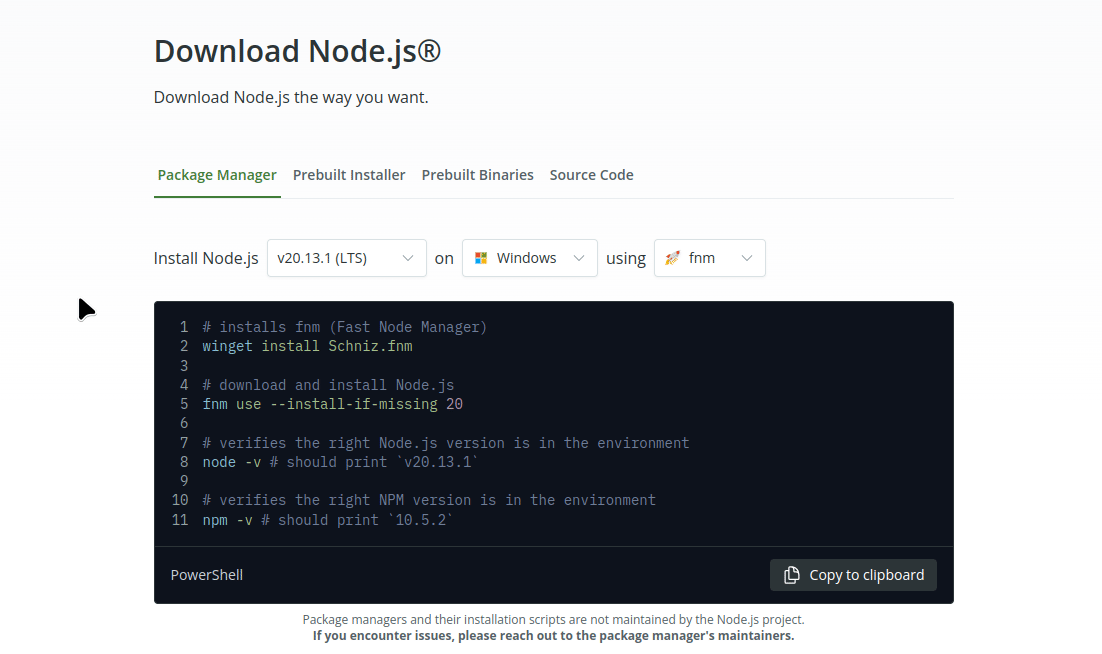
Section titled “Installation on Linux”Install Node version 20 from this link. The simplest option is to use nvm (Node Version Manager), an executable that allows you to manage different Node versions on your local machine. Select the latest version that appears for Node 20, the Linux operating system, and the nvm variant.
Let’s verify that we have node installed on our system. From any folder, open a terminal with Ctrl + Alt + T:
node -v# should return version number 20.x.yWe should also have npm (Node’s package manager) installed:
npm -v# should return the version numberNow we install wollok by running:
npm i -g wollok-ts-cliLet’s verify that we have Wollok CLI installed. In the terminal, type:
wollok --version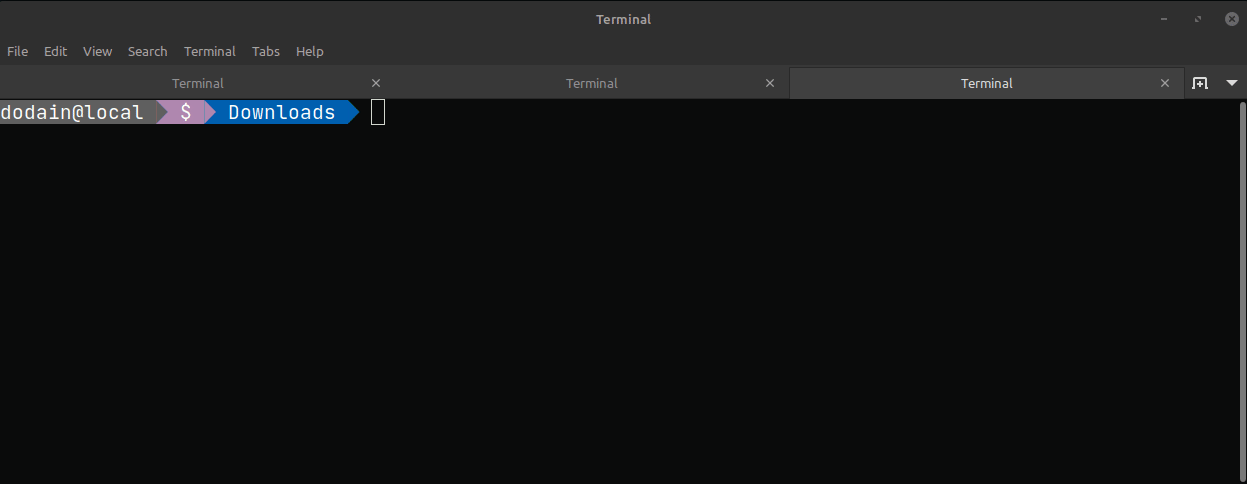
Installation on Mac
Section titled “Installation on Mac”Install Node version 20 from this link. The simplest option is to use brew or nvm (Node Version Manager), an executable that allows you to manage different Node versions on your local machine. Select the latest version that appears for Node 20, the macOS operating system, and the nvm or brew variant.
Let’s verify that we have node installed on our system. From any folder, open a terminal with ⌘ (Cmd) + Space or by searching for Terminal in the Launchpad:
node -v# should return version number 20.x.yWe should also have npm (Node’s package manager) installed:
npm -v# should return the version numberNow we install wollok by running:
npm i -g wollok-ts-cliLet’s verify that we have Wollok CLI installed. In the terminal, type:
wollok --versionUpdate (on any operating system)
Section titled “Update (on any operating system)”If you have already installed Wollok CLI and want to update it, first check what version you have installed. In the terminal, type:
wollok --versionIn a console, run the following command:
npm i -g wollok-ts-cliThen verify if you have a new version number:
wollok --version