

Wollok Game
What is it?
Section titled “What is it?”Wollok Game is a library within the language used to create games.
A grid is defined as a “board” and the objects are located inside in some position. Images and text can be defined for objects. It also allows you to interact with user events and interactions.
When you start the game, a site is served so you can run it from a web browser. The status of your objects is instantly reflected on the screen!
The following describes how to use it and the functionalities it provides.
How to use it?
Section titled “How to use it?”The most important object to interact with Wollok Game is the game object, which in order to use it you must import the Wollok game library.
When you run game.start(), the game is served on some port on the machine (for example http://localhost:3001).
It can then be accessed by typing the URL from your favorite browser.
With a program
Section titled “With a program”The main way to use it is by creating a .wpgm file and defining the initial code of the game in an program.
This allows code to be executed directly from when lifting the program.
import wollok.game.*
program myGame {  game.start()}
When we run it, we can see in the console where it is being served
🌏 Building environment for /Users/palumbon/example🚀 Running program src.example.game🗂 ️  Serving assets from /Users/palumbon/example/assets
👾 Game available at http://localhost:4200
(in this case http://localhost:4200, we can even click on some consoles).

By console
Section titled “By console”The most basic way is to import Wollok Game from the console (without associated file) by doing
wollok> import wollok.game.*And then send the messages one by one, as the console is usually used.
wollok> game.start()🗂 ️  Serving assets from /Users/palumbon/example/assets
👾 Game available at http://localhost:3001✓ true
(in this case http://localhost:3001, different from the previous example).
Per console, with code file
Section titled “Per console, with code file”Another friendlier way is to lift the.wlk file and define the initial code there like any other valid wollok code, have it executed and send the messages through the console so that the desired actions are carried out.
import wollok.game.*
object game {  method start(){    game.start()  }}
When running this file through the console, do
wollok:example>game.start()🗂 ️  Serving assets from /Users/palumbon/example/assets
👾 Game available at http://localhost:3001✓ true
The board
Section titled “The board”Everyone from Wollok Game walks across the board. This is where the objects that we want to display in the game will be added and has the following features:
- It’s unique, so we can only have one board per game
- The entire board is divided into cells squares that can be configured using
game.cellSize(px)(by default: 50 x 50 px), and all game positions are in cell units (cannot be be “in the middle” of a cell). - Has a title, handled by the
game.title()property - Has a width, expressed in number of cells, handled by the
game.width()property - Has a high, expressed in number of cells, handled by the
game.height()property - Has a cell image, which is set by
game.ground(image), whereimageis a string with the file name of the image. - Or you can declare an image for the entire board, using
game.boardGround(image). The image will adapt to the measurements of the board (defined by its dimensions).
For example
import wollok.game.*
program myGame {  game.width(10)  game.height(7)  game.cellSize(50)  game.title("Game")  game.start()}
Drawing objects
Section titled “Drawing objects”Now that we know how to view the game board, let’s add visuals to interact. To draw an object in Wollok Game it is necessary to know what image to draw and where on the screen, to do this it is necessary to use positions and visuals.
The positions
Section titled “The positions”Positions are objects found in Wollok’s game library and define x and y coordinates. The simplest way to get a position is to ask the game:
wollok> game.at(2, 3)✓ 2@3wollok> game.origin()✓ 0@0wollok> game.center()✓ 2@2 // -> It is calculated from the height and widthPositions understand messages for each coordinate
wollok> game.at(2, 3).x()✓ 2wollok> game.at(2, 3).y()✓ 3To draw an object in a position you need to understand the position() message and return the position in which you want to display the object. This method can be as complex or simple as desired: it can have specific logic that calculates the position from various factors or it can simply be a method of accessing a variable, in which case it is enough to define position as a property.
//With ownershipobject wollok {  var property position = game.origin()}
//With methodobject wollok {  var property centered = false  method position() = if (centered) game.center() else game.origin()}
But to draw an object it is not enough to define where to show it. We must also know what we are going to show. That is, what will be the image of our object.
Visuals
Section titled “Visuals”In order to view an object with an image, it is necessary to have the files within the project and indicate where they are located.
Configuring your project
Section titled “Configuring your project”The first thing is to indicate which folder is where the images (and sounds!) are of the game.
For that you have to define a resourceFolder in the file package.json:
{ "name": "your-project", "version": "1.0.0", "resourceFolder": "assets",...If you created the project with the init command, then you probably already have it defined.
By default that folder is called assets but it can be changed.
Now you can put all the images you are going to use for the game there. You can organize them in subfolders, for example:
project |- myGame.wpgm |- package.json |- assets |- character.png |- things |- box.jpg |- plant.gif.jpg .jpeg .png .gif files are recognized.
The image() method
Section titled “The image() method”For an object to be displayed with an image it needs to understand the message image().
This method must return a string with the path relative to the image, including the extension.
Following the previous example, the possible visuals are:
"character.png""things/box.jpg""things/plant.gif"For example, the code of the object to be displayed could be:
object character {  var property position = game.origin()
  method image() = "character.png"}
Adding objects to the game
Section titled “Adding objects to the game”Finally, it is necessary to put our game into the game.
For this, the message game.addVisual(object) is used, passing it our object by parameter.
import wollok.game.*
object character { ... }
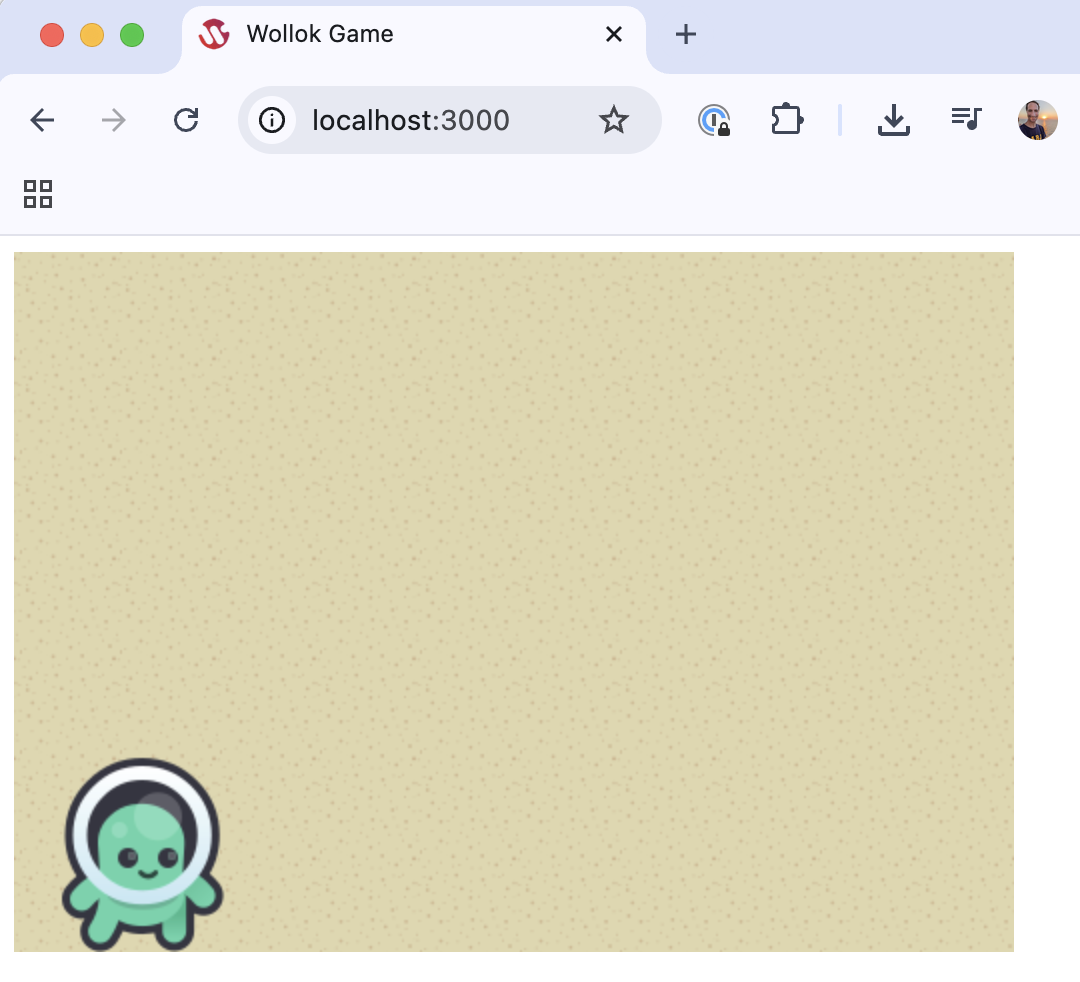
program myGame { ... game.addVisual(character)}We can now view our character on the screen!
Just as there is game.addVisual(object), we can also make game.removeVisual(object) when we want to stop having it in the game.
Adding more objects
Section titled “Adding more objects”We can repeat this process for all the objects that we want to appear in the game.
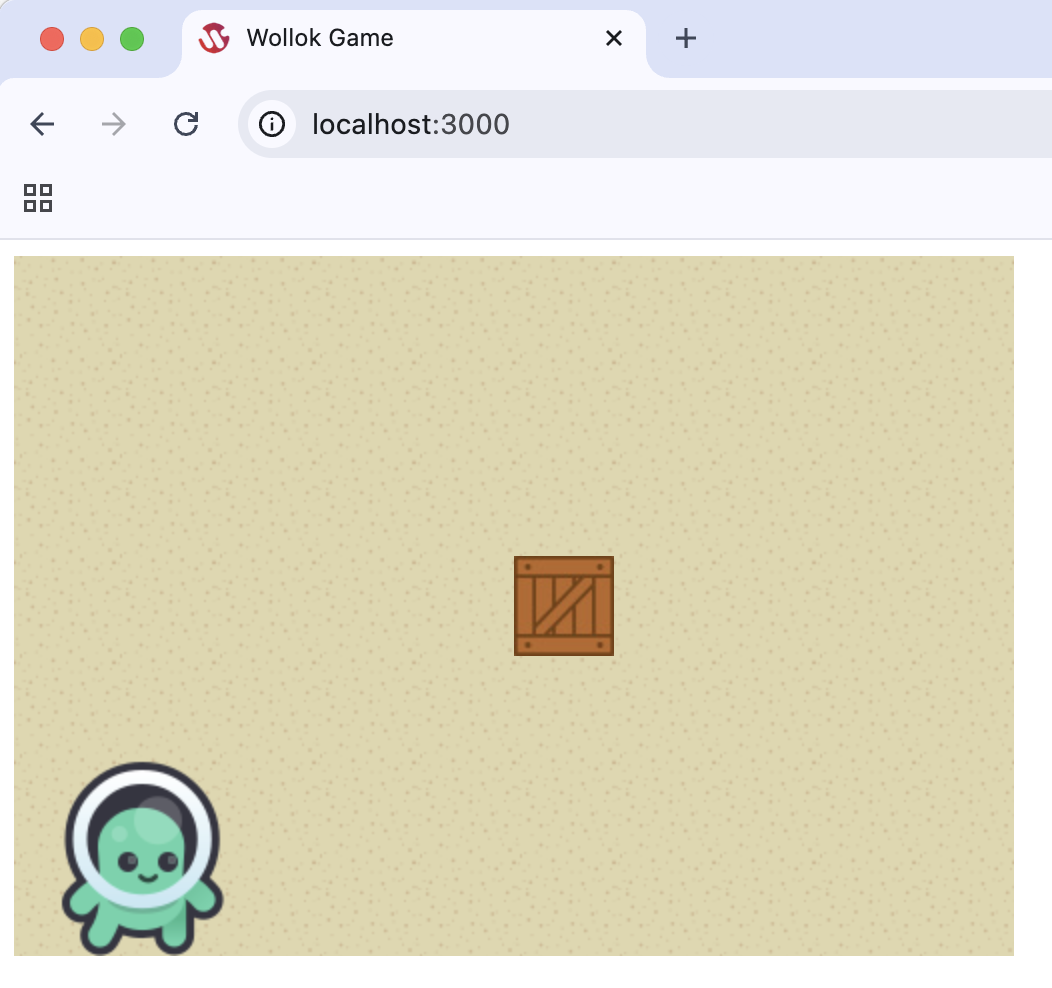
For example, if we define a box:
import wollok.game.*object box { method image() = "things/box.jpg" method position() = game.center()}And we add it to the game:
program myGame { ... game.addVisual(character) game.addVisual(box)}Both objects should be seen:
Moving objects
Section titled “Moving objects”One way for the object to move on the board is by properly defining the position() method and manipulating the references used on it.
Positions can be worked with mutable or immutable objects, in the first case their coordinates can be changed and in the second to place objects in different positions new objects must be obtained.
In a simple case, with a property or method that simply returns the variable position, if we modify the reference to a different position, the object is moved to that location.
//With ownershipobject character {  var property position = game.origin()
  method center() {    position = game.center()  }
  method image() = "character.png"}
//With methodobject character {  var centered = false  method position() = if (centered) game.center() else game.origin()
  method center() {    centered = true  }
  method image() = "character.png"}
Positions understand right(c) left(c) up(c) down(c) messages that return new positions with an offset of c boxes in the corresponding direction.
object character {  var property position = game.origin()
  method image() = "character.png"
  method upload() {    position = position.up(1)  }
  //moves a certain number of positions diagonally main  method enDiagonal(quantityPositions) {    position = position.up(quantityPositions).right(quantityPositions)  }
}
The character
Section titled “The character”Wollok Game allows you to have a special character and gives you the ability to move it with the arrow keys. Simply tell the game what object the character is when drawing it.
The object must understand the messages position() and position(newPosition), which can be overridden by defining position as a property.
//in the programprogram myGame { ... game.start() game.addVisualCharacter) game.addVisual(box)}
They talk too!
Section titled “They talk too!”That’s right, game items can talk. To do this, you must indicate the visual object of the game and the text that will say through the message game.say(visual, text):
program myGame { ... game.say(character, "You do what you can")}
An interactive game
Section titled “An interactive game”We can now show our objects on the board, where and with the image we want. Now we need to be able to interact with the game to make it fun.
Collisions
Section titled “Collisions”One way to make your objects interact with each other is through collisions. These are code blocks that are added to an object on the board and will be executed when another object collides with it (occupies the same position). game.onCollideDo(object, actionConCollided).
Example
Section titled “Example”
import wollok.game.*
object character {  var property position = game.origin()
  method image() = "character.png"}
object box {  var property position = game.center()  method image() = "box.png"  method upload(){    position = position.up(1)  }}
program myGame {  game.height(10)  game.width(10)  game.addVisualCharacter)  game.addVisual(box)
//When the character collides with the box, the character speaks and the box moves game.onCollideDo(character, {item => element.upload() game.say(character, "Opa! I wore a box!") }) game.start()}Automatic events
Section titled “Automatic events”Wollok Game allows you to define an action to be executed from time to time.
For that we need to use an object Tick, which is obtained with the message game.tick(intervalInMs, action, actuateOnStart).
The parameters are:
- the repetition period expressed in milliseconds
- the block of code you must execute
- if you have to execute the block when starting the Tick
This object understands the messages start() and stop().
For example, an interesting functionality we can implement is to have the box move every 2 seconds:
program myGame {  game.addVisualCharacter(wollok)  game.addVisual(box)
  //every two seconds I move the box  const tick = game.tick(2000, {box.movete() }, false)  tick.start()
  game.start()}
The boxed movete() method updates the position based on a random value, taking into account the width and height of the board:
object box { var property position = game.center() method image() = "box.png" method movete() { const x = 0.randomUpTo(game.width()).truncate(0) const y = 0.randomUpTo(game.height()).truncate(0) //another way to generate random numbers // const x = (0.. game.width()-1).anyOne() // const y = (0.. game.height()-1).anyOne() position = game.at(x,y) }}When we run the program, we see how the box changes position every 2 seconds (and our character must be more careful):
What if we want to define a one-time event? We can also do this by sending the message schedule(miliseconds, action) to the game object as follows:
program myGame { ... game.schedule(3000, { game.say(personaje, "¡Hola!") }) game.start()}
We will see other applications later.
Keyboard events
Section titled “Keyboard events”Wollok Game allows you to capture all keyboard events, for which we recommend that you read the documentation for the self-defined object keyboard. In particular, you can define what has to happen when a user presses a key.
Thus, an ENTER could cause the character to wave, and the p key could cause the movement of the box to stop.
import wollok.game.*
program myGame {  game.addVisualCharacter(wollok)  game.addVisual(box)
  //every two seconds I move the box  const tick = game.tick(2000, {box.movete() }, false)  tick.start()
  //we capture the ENTER event from the keyboard  keyboard.enter().onPressDo { game.say(wollok, wollok.howAreYou()) }
  //we capture the event of pressing the p key on the keyboard  keyboard.p().onPressDo { tick.stop() }  //we stop moving the box
  game.start()}
Changing the background
Section titled “Changing the background”It is possible to modify the background of our board, for which you can search for any copyright-free image that you like. We download it to the assets folder of our project.
In the program we add the message corresponding to the game object:
import wollok.game.*
program myGame {  game.width(10)  game.height(10)  game.boardGround("playa.jpg") //or the name with which you downloaded it  game.start()}
This causes the background image to be displayed on the board:

From now on we will return with the conventional background so that it distracts less attention.
Drawing texts
Section titled “Drawing texts”Do you remember that we said that to draw an object it was necessary to define its image? Well, this is not entirely true. It is possible to display only text.
To do this, it is necessary to add a text() method to our object that returns the text to be displayed as a string. It is important to define the position in which it should be displayed in the same way as we did before. The object may not have the image() method.
By running this new program:
object nugget {  method position() = game.center()  method text() = "Pepita!"}
program minigame {  game.addVisual(pepita)  game.start()}
We should be able to see the text Pepita! written in the middle of the board:

The default color is blue, but it can be modified.
Coloring texts
Section titled “Coloring texts”In order to change the color of the text we must add a textColor() method to our object that must return a string with an RGBA value in hexa.
What is an RGBA value? It is a way of representing colors by composing red, green and blue. Additionally, information about opacity is added. For more information you can visit this page. Explains in more detail what it is about and also generates an RGBA value based on the color you want.
How do I convert it to hexa? Very easy. They can use any page that, given an RGBA value, converts it to hexa. We leave you this page as an example.
import wollok.game.*
object palette {  const property verde = "009933FF"  const property rojo = "FF0000FF"}
object nugget {  method position() = game.center()  method text() = "¡Pepita!"  method textColor() = paleta.verde()}
Running the same previous program we should be able to see:
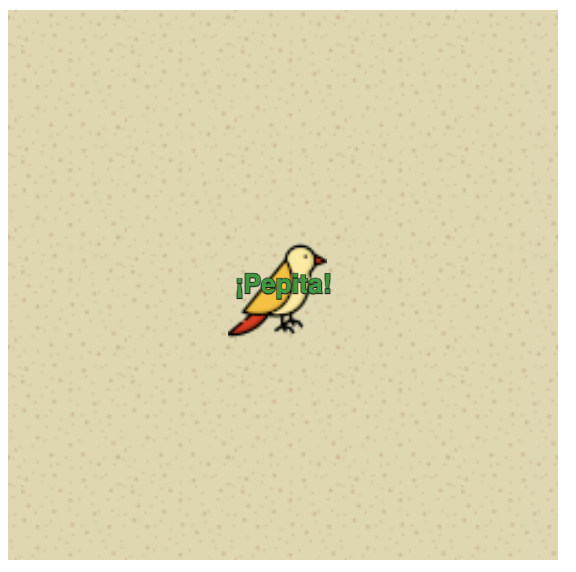
Images with text
Section titled “Images with text”We can combine texts with images! To do this we need our object to define what image it is going to show, in the same way that we have been doing before. Text will always be drawn above the image.
import wollok.game.*
object palette {  const property verde = "009933FF"  const property rojo = "FF0000FF"}
object nugget {  method position() = game.center()  method image() = "pepita.png"  method text() = "¡Pepita!"  method textColor() = paleta.verde()}
Running the same previous program we should be able to see:
Invisible objects
Section titled “Invisible objects”It is also possible to define invisible objects and add them to the board. They can be used, for example, to trigger collisions. It is important that these objects do not define the text() or image() methods.
For example
import wollok.game.*
object nugget {  var property position = game.center()  method image() = "pepita.png"}
invisible object {  method position() = game.origin()}
When running the following program with collisions:
import wollok.game.*import nugget.*
program myGame {  game.addVisualCharacter(pepita)  game.addVisual(invisible)  game.onCollideDo(invisible, {elemento => game.say(invisible, "¡Cuidado!")})  game.start()}
We should be able to observe that when nugget passes through the origin, the invisible object tells it: Be careful!
Sounds
Section titled “Sounds”We can play sounds! To do this we can ask game for a sound, sending it the message: game.sound(file). The parameter is the path to the audio file they want to play. Accepted extensions are: .mp3, .ogg or .wav.
Like images, we can save our sounds inside the assets folder.
What can we do with a sound? We can play it by sending you the message play.
import wollok.game.*
object drop {  method caer(){    game.sound("gota-de-agua.mp3").play()  }}
program terror {  keyboard.enter().onPressDo({ gota.caer() })  game.start()}
Every time we press the enter key our sound will play.
Background sound
Section titled “Background sound”We can also define background music or a background sound for the game. We achieve this by sending the message shouldLoop(true) to the sound.
import wollok.game.*
quiet program { const rain = game.sound("lluvia.mp3") rain.shouldLoop(true) game.schedule(500, { rain.play()} ) game.start()}Other things we might want to do with sounds is pause them, resume them, and stop them completely. For this there are the messages pause(), resume() and stop() that understand sounds.
import wollok.game.*
program control {  const rain = game.sound("lluvia.mp3")  rain.shouldLoop(true)  keyboard.p().onPressDo({ rain.pause() })  keyboard.r().onPressDo({ rain.resume() })  keyboard.s().onPressDo({ rain.stop() })  game.schedule(500, { rain.play() })  game.start()}
This allows us to pause the rain with the letter p, replay with the letter r, and stop with the letter s.
Volume
Section titled “Volume”Finally we wanted to show you that sounds also have their own volume and are independent of each other. We can consult it by sending the message volume() to a sound and we can also modify it if we wish, using volume(newVolume).
import wollok.game.*
program volume {  const rain = game.sound("lluvia.mp3")  rain.shouldLoop(true)  keyboard.up().onPressDo({ rain.volume(1) })  keyboard.down().onPressDo({ rain.volume(0) })  keyboard.m().onPressDo({ rain.volume(0.5) })  game.schedule(500, { rain.play() })  game.start()}
In the example we show how we can mute a sound by pressing the down key, bring it to its maximum volume with the up key and leave it at an intermediate value by pressing the m key.
Reporting errors
Section titled “Reporting errors”When things don’t go the way we want and a mistake happens, the special character is the one who tells us. Suppose we modify the block that works the collision between our wollok character and the box:
program myGame { game.addVisualCharacter) game.addVisual(box) game.errorReporter(character) game.onCollideDo(wollok, {item => throw new DomainException(message = "It can't be!") }) game.start()}When we throw a domain error (DomainException) the character informs us:
Other error types (such as 1 / 0 or throw another type of exception) are only logged in the console.
We can tell you that another object reports Wollok Game errors, such as the box:
program myGame { //... game.errorReporter(box) //...}So when there is an error in a block of code that Wollok Game handles, it will be the box that is reporting an error to us:
Testing
Section titled “Testing”In this section we will show some considerations that you should take into account when testing with wollok game. But before starting, we recommend that you read the testing notes: Introduction to automated unit testing and Advanced automated unit testing.
Sound reproduction
Section titled “Sound reproduction”We already saw that sounds cannot be played if the game did not start. And in the tests we are not interested in starting the game. So, what happens if some functionality we want to test plays a sound from behind? An exception is thrown and the test fails.
Solving this is a little more complicated because it requires several changes. Initially, the problem starts when we send the message play() to a sound. What we could do is change these sounds for other polymorphic objects that “imitate” them. That is, these new objects will understand all the messages that understand the sounds and when we send them the message play() they will do nothing. This way an exception will not be thrown and the tests can pass.
object soundMock {
  method pause(){}
  method paused() = true
  method play(){}
  method played() = false
  method resume(){}
  method shouldLoop(looping){}
  method shouldLoop() = false
  method stop(){}
  method volume(newVolume){}
  method volume() = 0}
But we ask the sounds from the game object. So, we have to change the object from which we ask for the sounds. We are going to create a new object that will be in charge of creating them for us. We’ll call it soundProducer. This object will initially be asked to game because we need the real sounds. The interesting thing is that we will be able to exchange who asks for the sounds. So, we can have another object that gives us “lying” sounds so we can do our tests. We will call the latter soundProviderMock. Bringing this down to earth, we could have something like the following:
import wollok.game.*
object soundProducer {
  var provider = game
  method provider(_provider){    provider = _provider  }
  method sound(audioFile) = provider.sound(audioFile)
}
object soundProviderMock {
  method sound(audioFile) = soundMock
}
In our code we are going to have to modify all the places where we asked game for a sound. That is, we will replace game.sound(audioFile) with soundProducer.sound(audioFile) (or whatever name you have chosen).
And what do we gain from this? In the describe of our tests we will be able to configure the sound provider within the initialize() method, similar to the previous case. This will allow us to use “lying” sounds so that they do not break our tests.
describe "My describe" {
  method initialize(){    soundProducer.provider(soundProviderMock)    //I do other things...  }
  test "My first test" {    ...  }}
To follow up
Section titled “To follow up”The code for the examples mentioned is in this repository.
You can also research all of these examples in the Wollok repository, and play the games presented in the Wollok Game Contest.
Have fun!