-> Wollok CLI without Admin Rights
Wollok Command Line Interface: without admin permissions
Section titled “Wollok Command Line Interface: without admin permissions”If you’re on a machine without administrator permissions, for example on a university lab machine or a work computer, we recommend following these steps.
Installation on Windows
Section titled “Installation on Windows”Enable script execution
Section titled “Enable script execution”Open a Powershell Terminal window and run:
Set-ExecutionPolicy -Scope CurrentUser -ExecutionPolicy RemoteSignedConfirm it’s correctly configured:
Get-ExecutionPolicyRemoteSigned # expected responseDownload Node as executable
Section titled “Download Node as executable”First confirm that we don’t have Node installed:
node -vnode: The term 'node' is not recognized as a name of a cmdlet, function, script file, or executable program.Check the spelling of the name, or if a path was included, verify that the path is correct and try again.Go to Node’s download page, it will have the LTS version of Node pre-selected.

Choose the option that says Or get a prebuild Node.js for... for Windows, and finally click on Standalone Binary (.zip).
Unzip and move to a common folder $HOME\node. $HOME is your user’s root folder, which can be C:\Users\Username for example. Note that the node folder must contain the executables, like node.exe. If you see that inside the node folder there’s another folder node-v22.19.0-win-x64 or similar, this means you need to move the files from that subfolder to the parent node folder. The file structure should look like this:
C:\ + Users + Username # your username + node + node.exe + npm.cmdMake Node executable from any folder
Section titled “Make Node executable from any folder”To do this, you need to add the node folder to the user’s PATH. Run from a Powershell terminal:
# Step 1, test if there's a profileTest-Path $PROFILE# if it responds True, go to step 2# if it responds False, run the following commandsNew-Item -Path (Split-Path $PROFILE -Parent) -ItemType Directory -ForceNew-Item -Path $PROFILE -Type File -Force
# Step 2, edit the profilenotepad $PROFILE
When opening the file, write the following lines:
$nodePath = "$env:USERPROFILE\node"if ($env:PATH -notlike "*$nodePath*") { $env:PATH += ";$nodePath"}Set-Alias npm npm.cmdSave the file and close Notepad.
Then verify how the PATH variable looks. Close and open a new Powershell terminal:
$env:PATHThe PATH should now contain the folder C:\Users\Username\node, where Username is your username.
Run:
node -vIt should show the Node version we installed, like v22.19.0.
Downloading npm
Section titled “Downloading npm”From the terminal run:
Unblock-File -Path $HOME\node\npm.ps1Verify that the Node package downloader works:
npm -vThe version should appear.
Downloading the CLI
Section titled “Downloading the CLI”Now install wollok by running:
npm i -g wollok-ts-cliVerify that we have Wollok CLI installed. In the terminal type:
wollok --version
Installation on Linux
Section titled “Installation on Linux”Download Node and npm
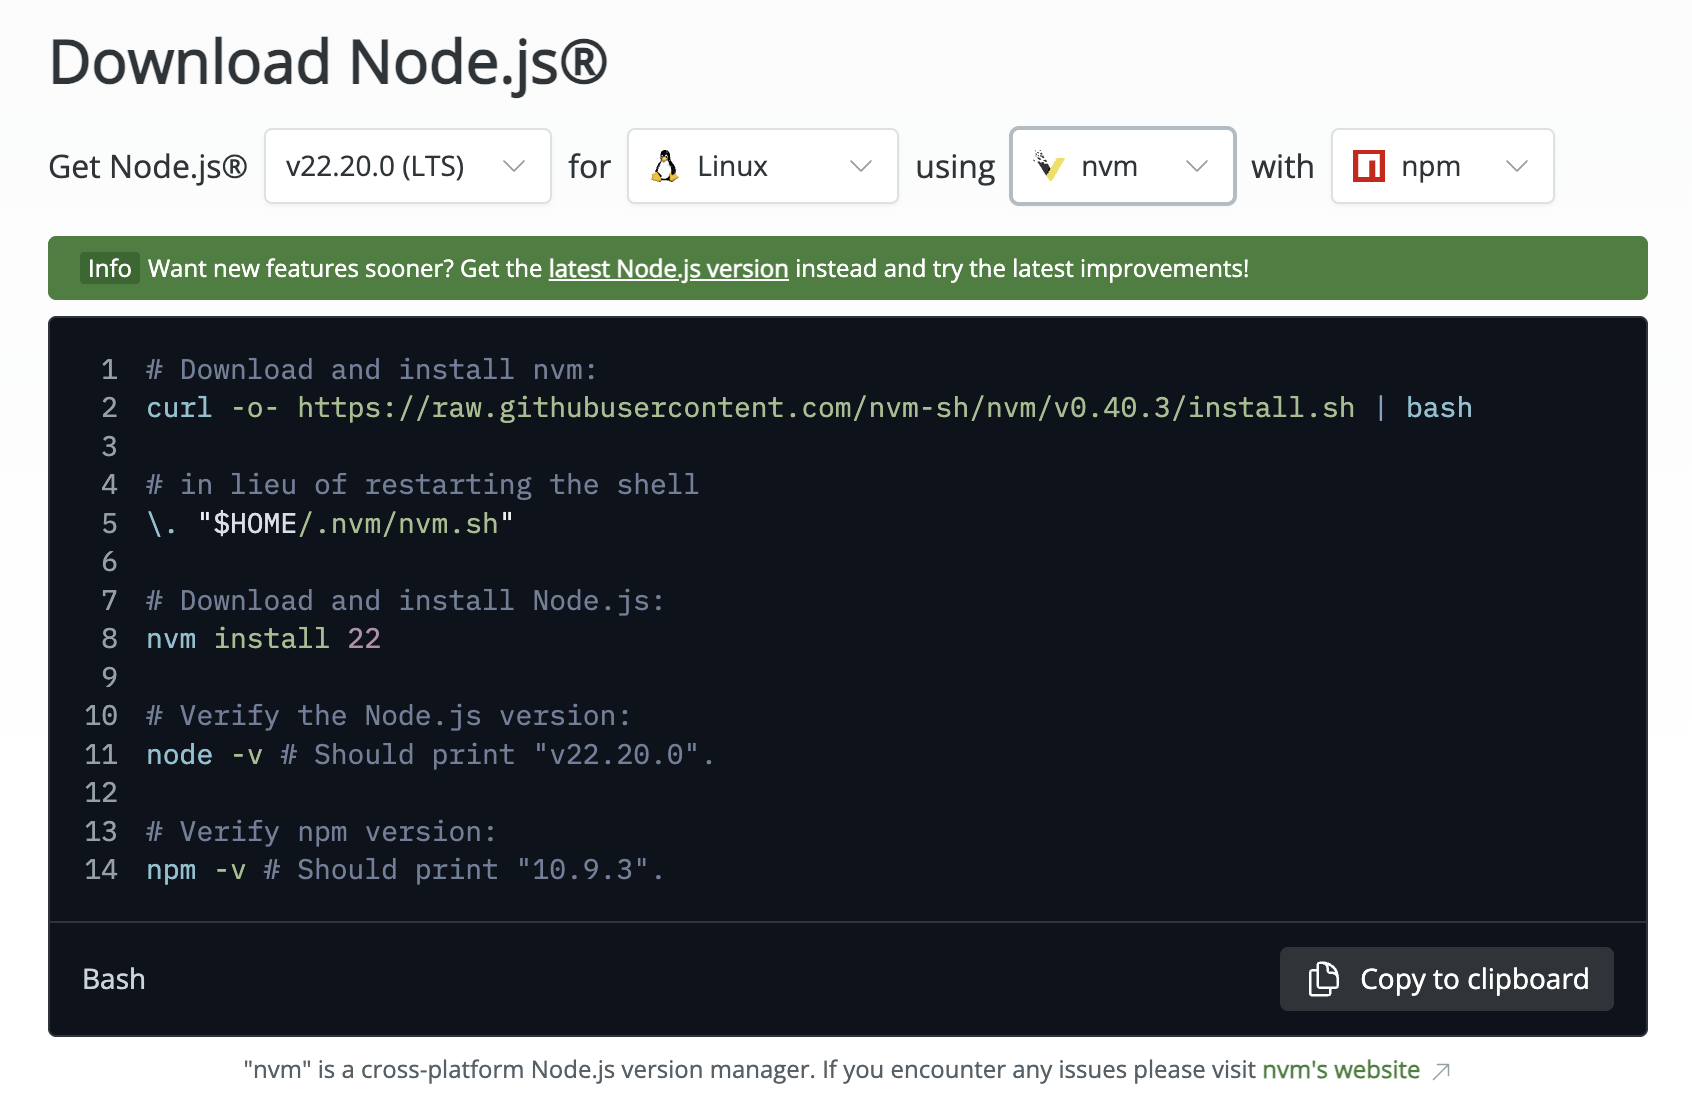
Section titled “Download Node and npm”Go to the official Node download page.

Choose the default option (LTS), where nvm and npm are installed, and run in a terminal (Ctrl + Alt + T):
# Download nvm (node version manager)curl -o- https://raw.githubusercontent.com/nvm-sh/nvm/v0.40.3/install.sh | bash
# Restart the shell\. "$HOME/.nvm/nvm.sh"
# Download npmnvm install 22
# Verifications: nodenode -v # should show the installed node version
# Verifications: npmnpm -v # should show the installed npm versionNow install wollok by running:
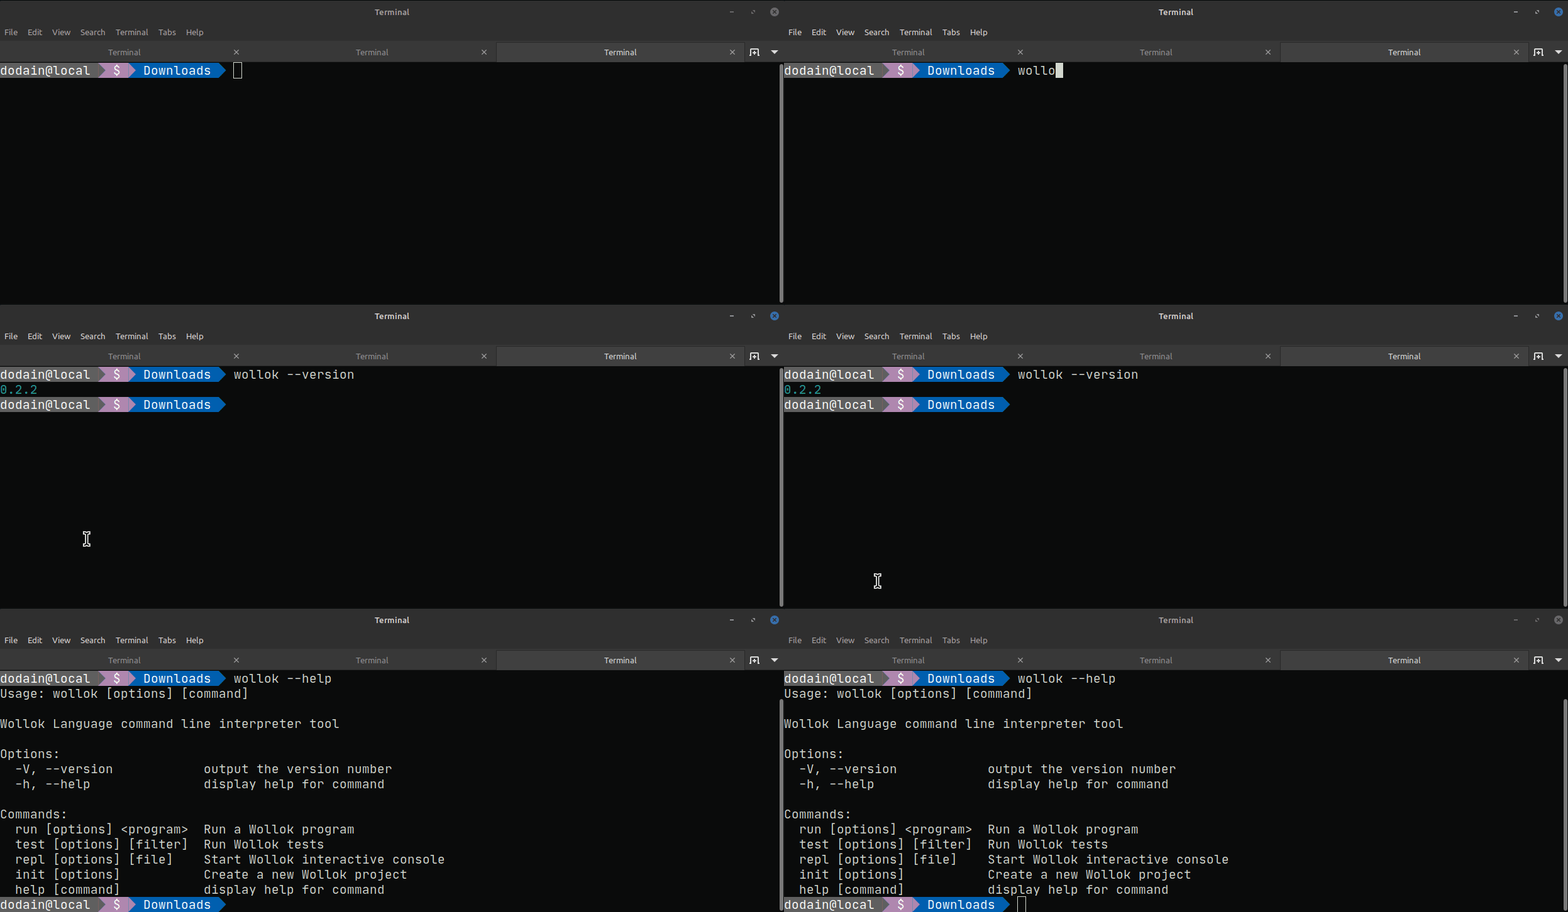
npm i -g wollok-ts-cliVerify that we have Wollok CLI installed. In the terminal type:
wollok --version